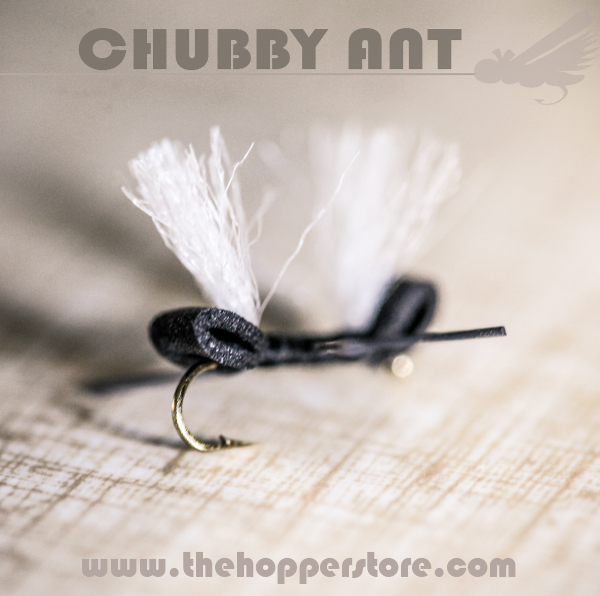
PATTERN DESCRIPTION: The Chubby Ant is a high floating, easy to see ant that really catches fish. An ant pattern can be a fantastic fly during the summer months fished as a searching pattern, or to imitate real ants, or flying ants that somehow, always end up in every stream here in Montana. Fish seem to really key into ants at any time during the summer months. Ants can also be used during hatches, especially trico hatches, to attract rising fish. I have seen steadily rising trout keyed into trico’s move 4-5 feet to chase down a size 16 Chubby Ant on both freestone rivers and tailwaters. I like to fish a small hopper trailed by a size 14-16 Chubby Ant during the late summer months. I am no longer surprised that the ant will catch more trout and larger trout almost every time. The Chubby Ant is a simply deadly, easy to see, and easy to tie pattern that will surely surprise you.
MATERIAL NEEDED:
Hook: Dai Riki 730 sizes 12-18 (2xl nymph hook)
Thread: Black 8/0
Body: 1mm Black Foam, cut into hook-gap wide strip
Wing: 1 strand Chubby Poly Wing
Legs: Zebra Hopper Legs – Black Fine
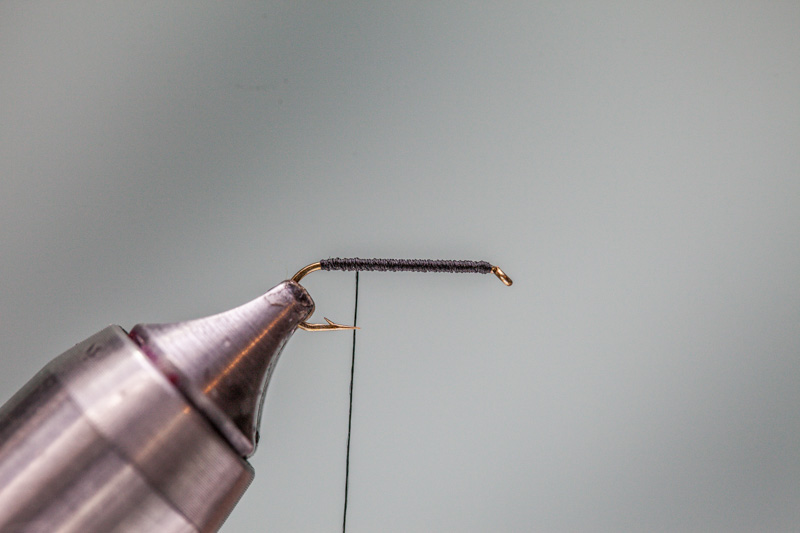
Step 1: Wrap a 3 layer thread base onto hook. End at point of hook.
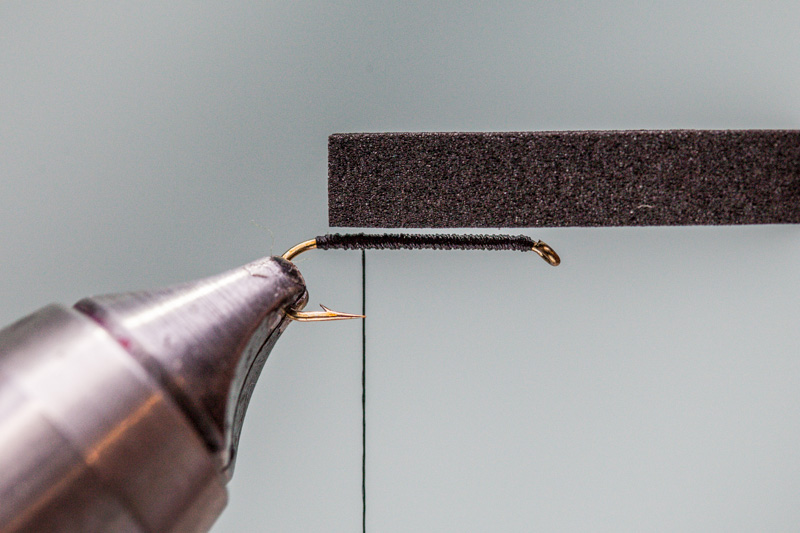
Step 2: Cut a thin strip of 1mm foam. Trim foam to width of gap of hook.
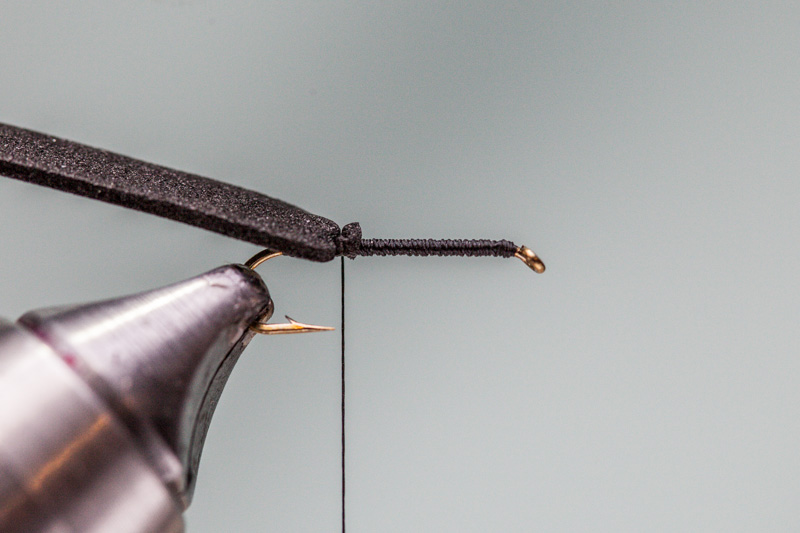
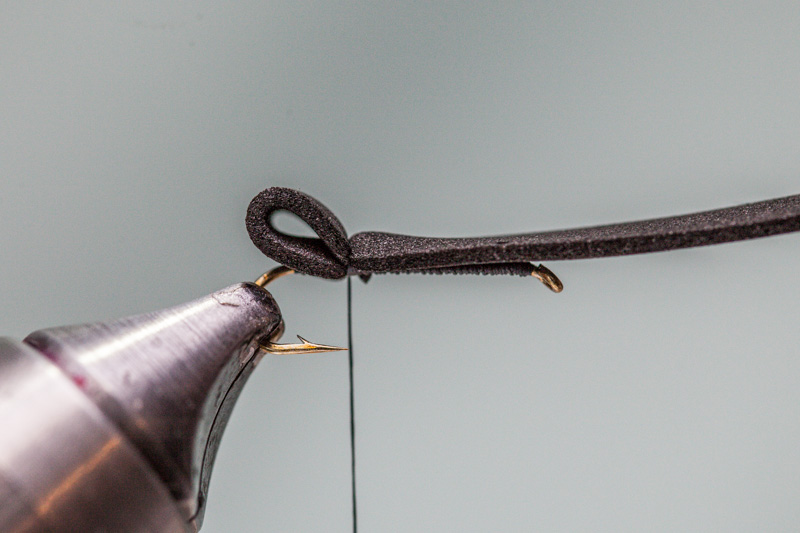
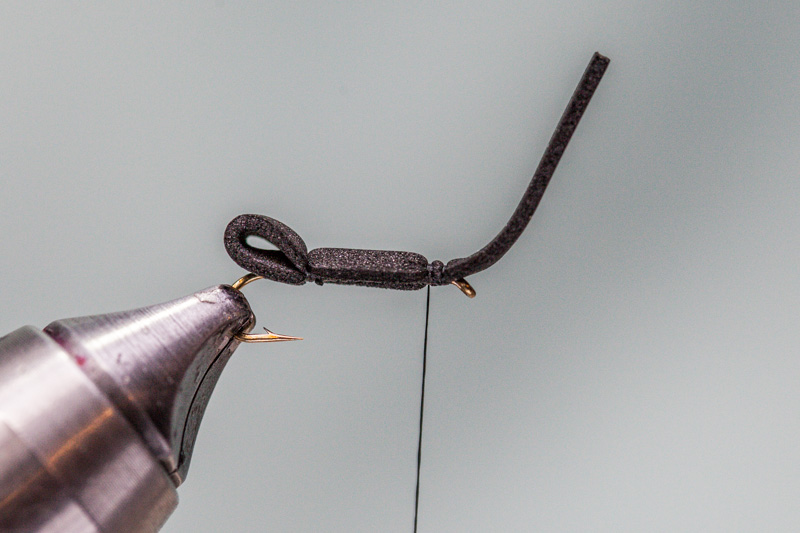
Step 3: Secure tip of foam strip to the top of hook with 3 wraps of thread. Notice strip of foam is extended towards back of hook.
Step 4: Fold the 1mm foam strip forward forming the rear metasoma or body of the ant. The fold should extend to just beyond the bend of hook.
Step 5: Bind down foam with 3 firm wraps.
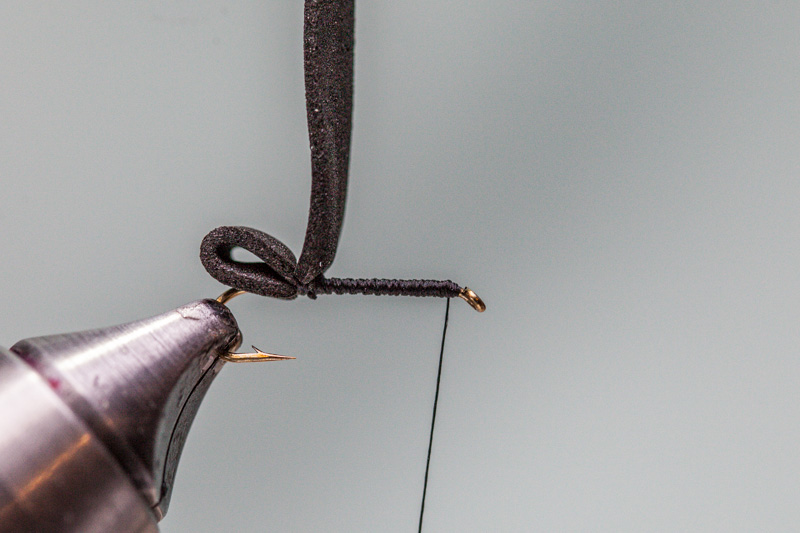
Step 6: Lift up foam strip and advance thread to 1 eye length short of eye-of-hook.
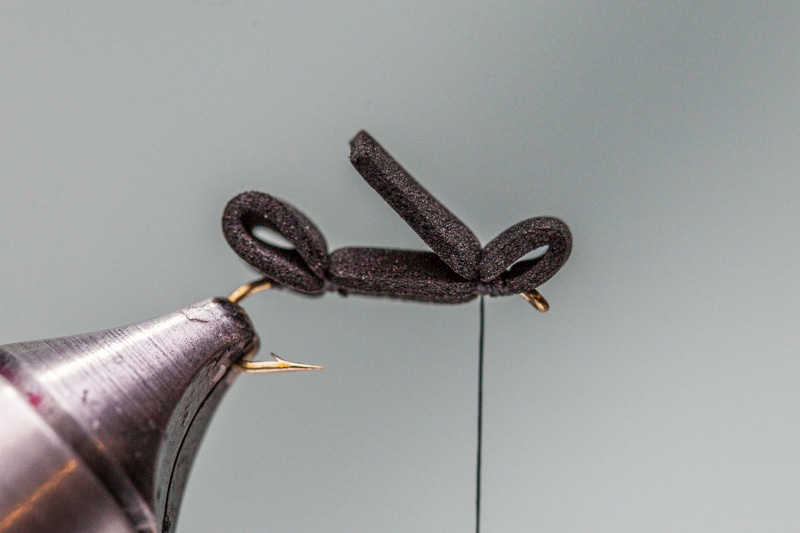
Step 7: Lay foam strip on top of hook.
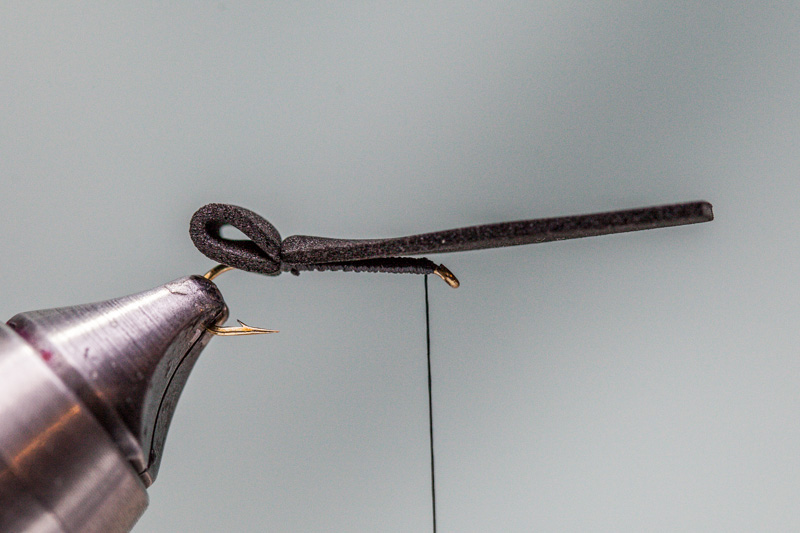
Step 8: Bind down foam with 3 firm wraps of thread.
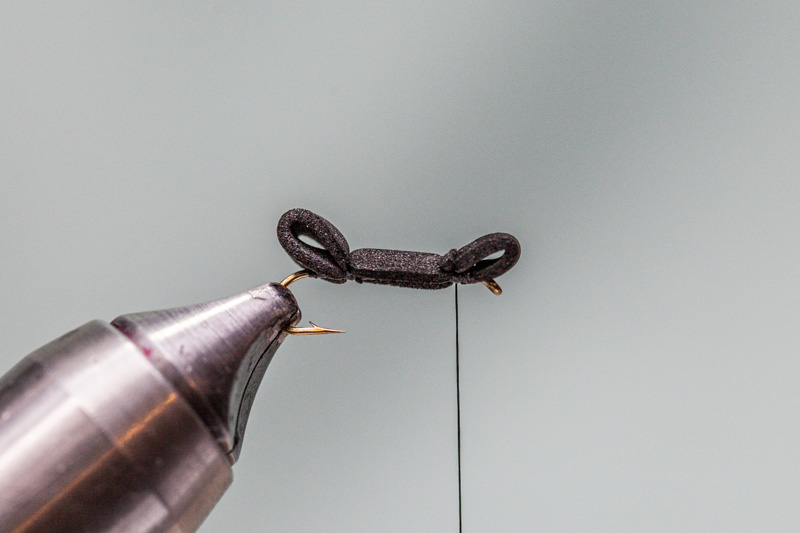
Step 9: Wrap thread back 2-3 wraps towards bend of hook to secure foam to hook as shown above. End thread at 2 eye-lengths back from eye-of-hook.
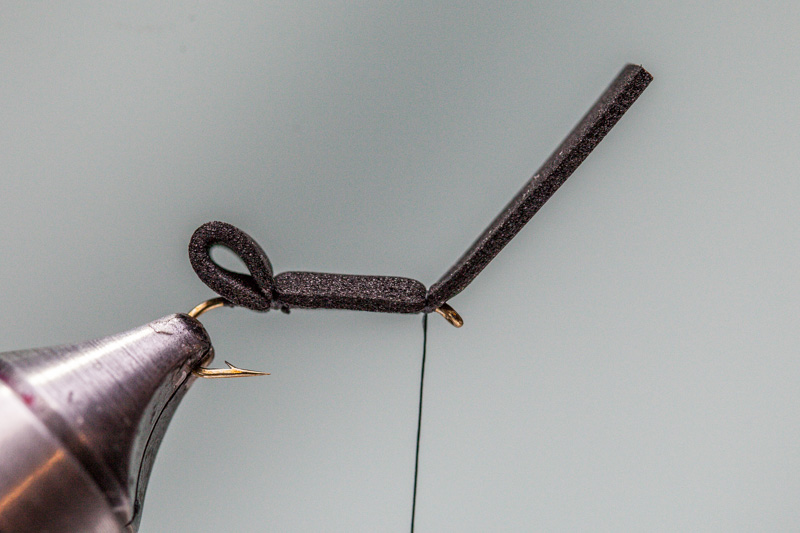
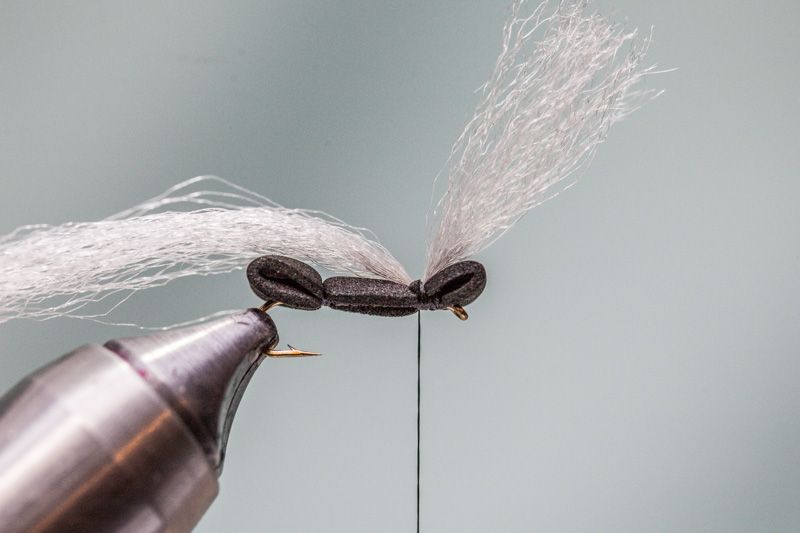
Step 10: Fold remaining foam strip back to form the head of the ant as shown above. Notice the fold extends, just beyond eye-of-hook.
Step 11: Trim tag of foam strip flush with body.
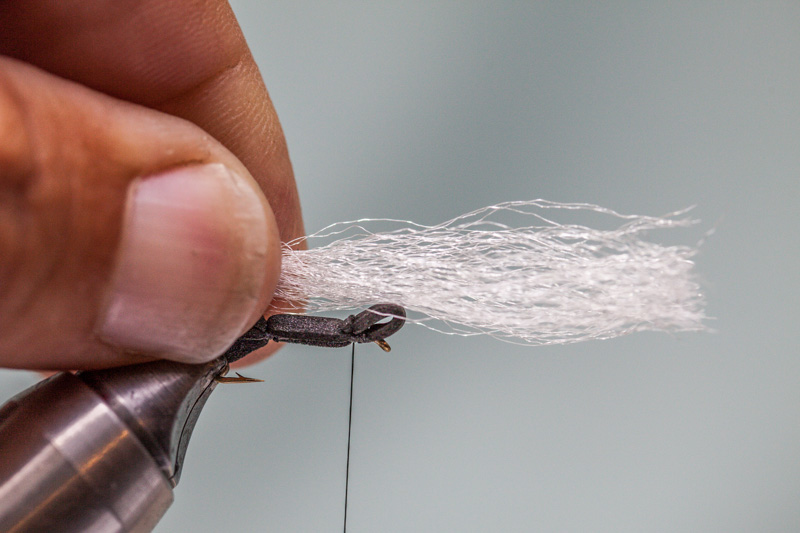
Step 12: Comb out one strand of Chubby Poly Wing.
Step 13: Secure Chubby Poly Wing on top of hook with firm thread wraps.
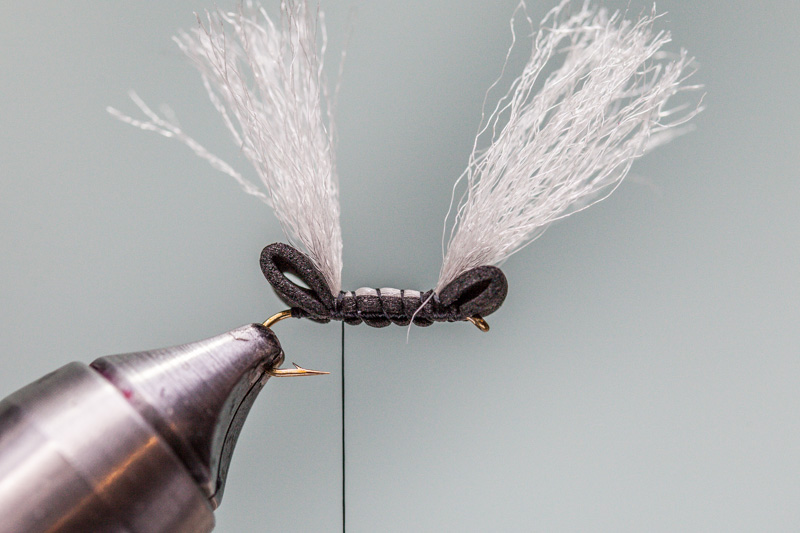
Step 14: Bind down poly wing with firm thread wraps, advancing towards point of hook. Don’t worry about covering all of the white poly wing with this step.
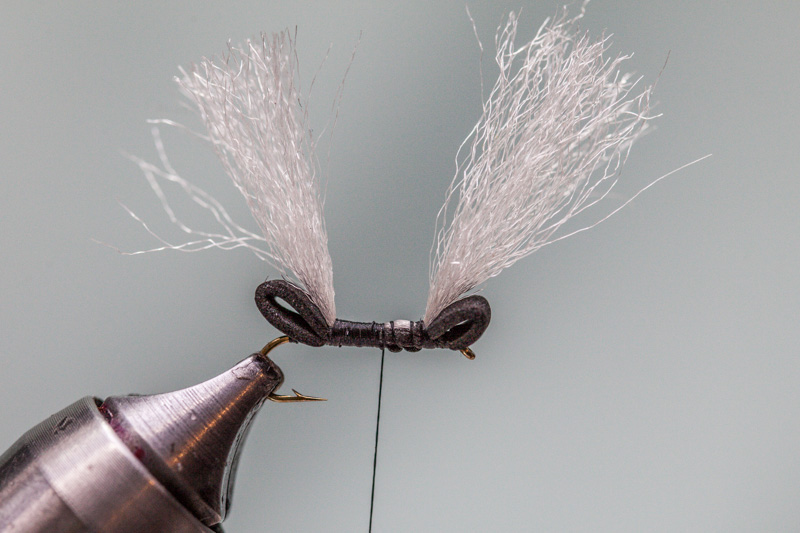
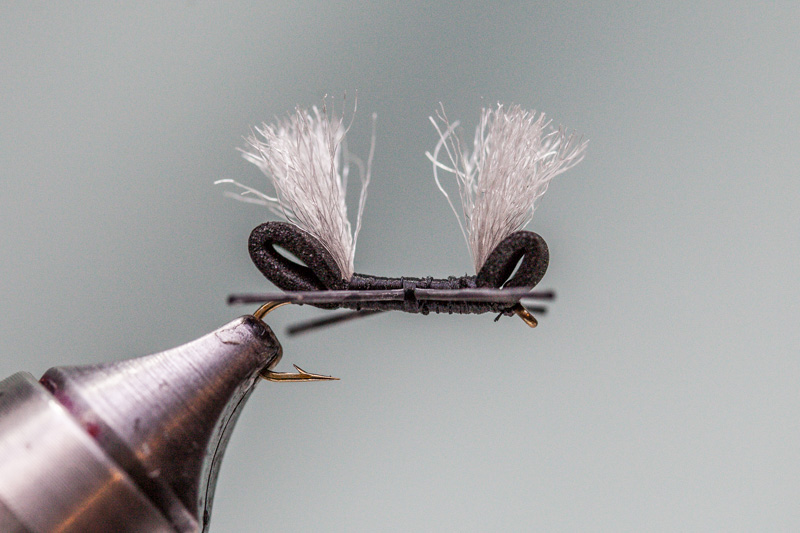
Step 15: With firm thread wraps, cover and compress the waist of the ant to just beyond mid point of the waist as shown above.
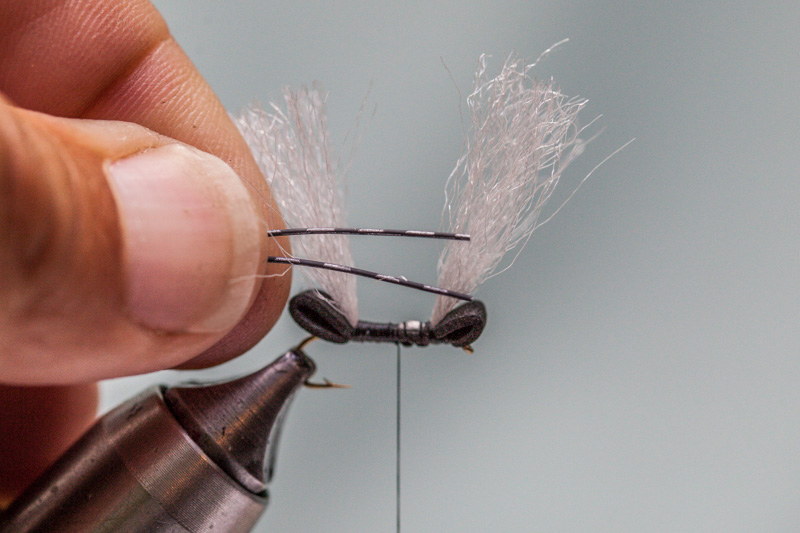
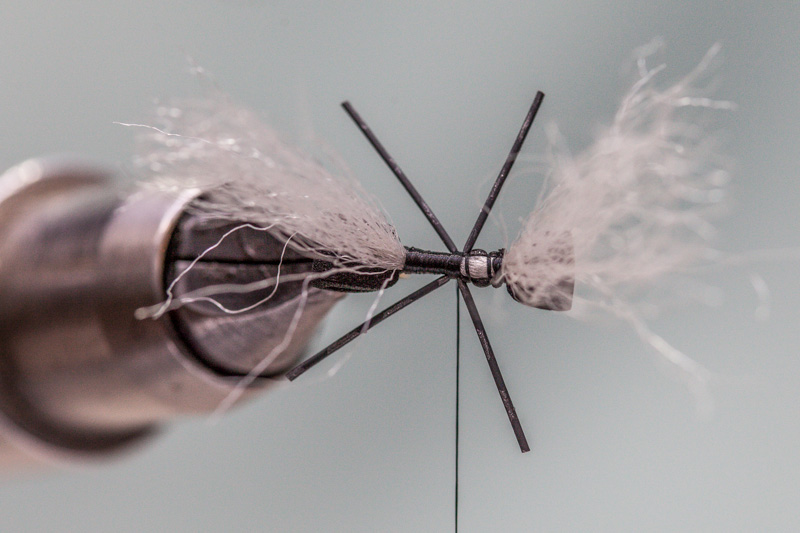
Step 16: Prepare two strands of black fine Zebra Hopper Legs.
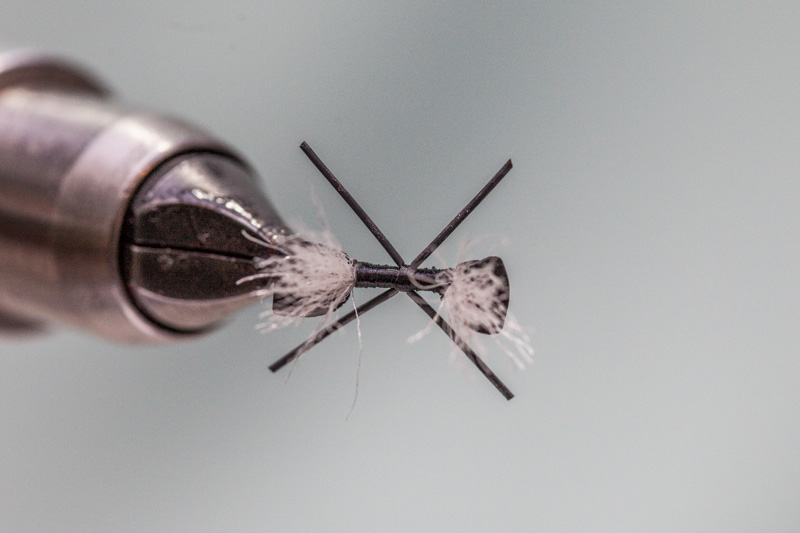
Step 17: Secure legs to waist or trunk of ant with 4-5 firm wraps of thread.
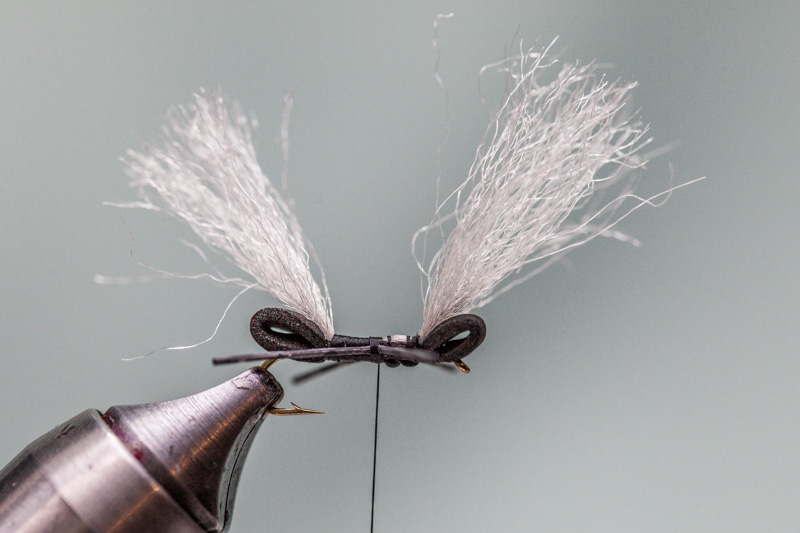
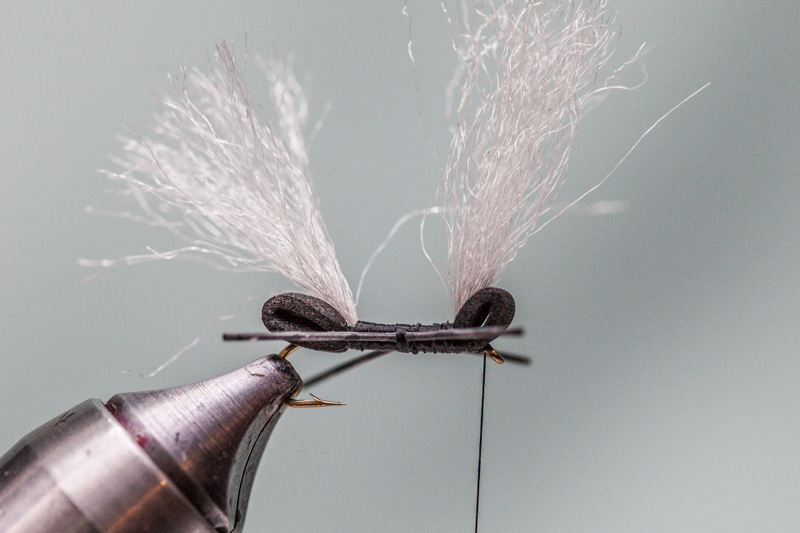
Step 18: Secured legs.
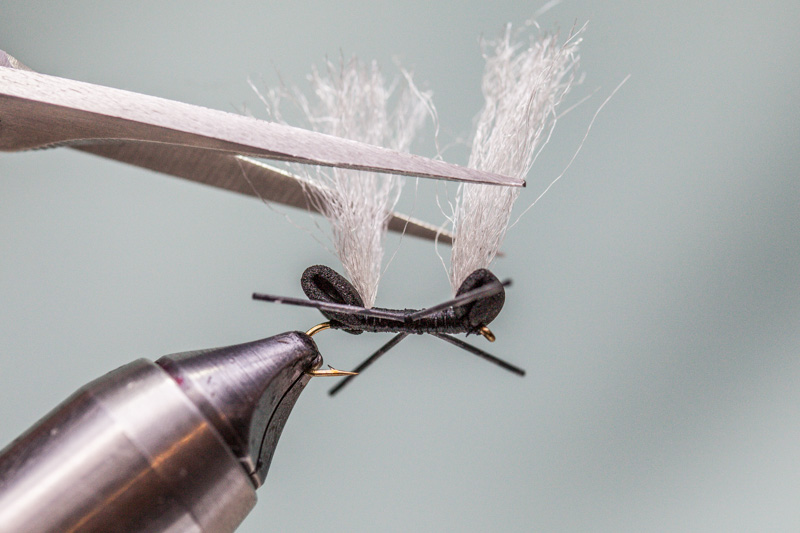
Step 19: Advance thread forward towards front body of ant covering up remaining visible white poly. Next, advance thread to hook eye and whip finish.
Step 20: Trim post to length of hook. The posts seem tall, but the longer posts aid in floatation and visibility, plus the fish can’t see them.
Finished Chubby Ant
Top view of Chubby Ant
Tie on and hold on!


This really is a great tutorial. Fly fisherman all over are benefiting from your generosity. Looking forward to trying out a chubby ant.